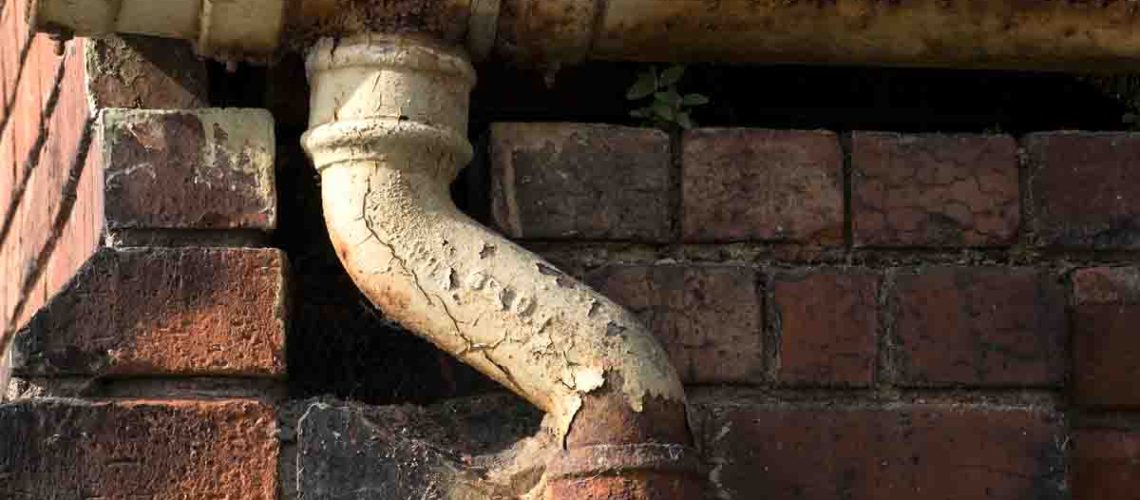


Cast iron gutters, properly maintained, will have a lifespan of over 100 years, but as with any maintenance job, these are not always carried out promptly. If you have noticed that your gutters have started to rust and corrode, leaving them unattractive and unreliable, we’ll show you a few tools and some elbow grease; you can repair or replace your cast iron gutter so they’re back to working order.
We’ll guide you through every step, from cutting the gutter to designing it for proper drainage, drilling holes for joining components together, filling in any gaps with sealant, and finally, painting the surface with rust-resistant paint. With this guide, you can confidently take on even the most challenging gutter repairs.
Cutting cast iron guttering is a delicate but essential part of the repair process. Choosing the right tools and technique is vital to ensure you make a clean, precise cut that will result in a long-lasting, effective repair.
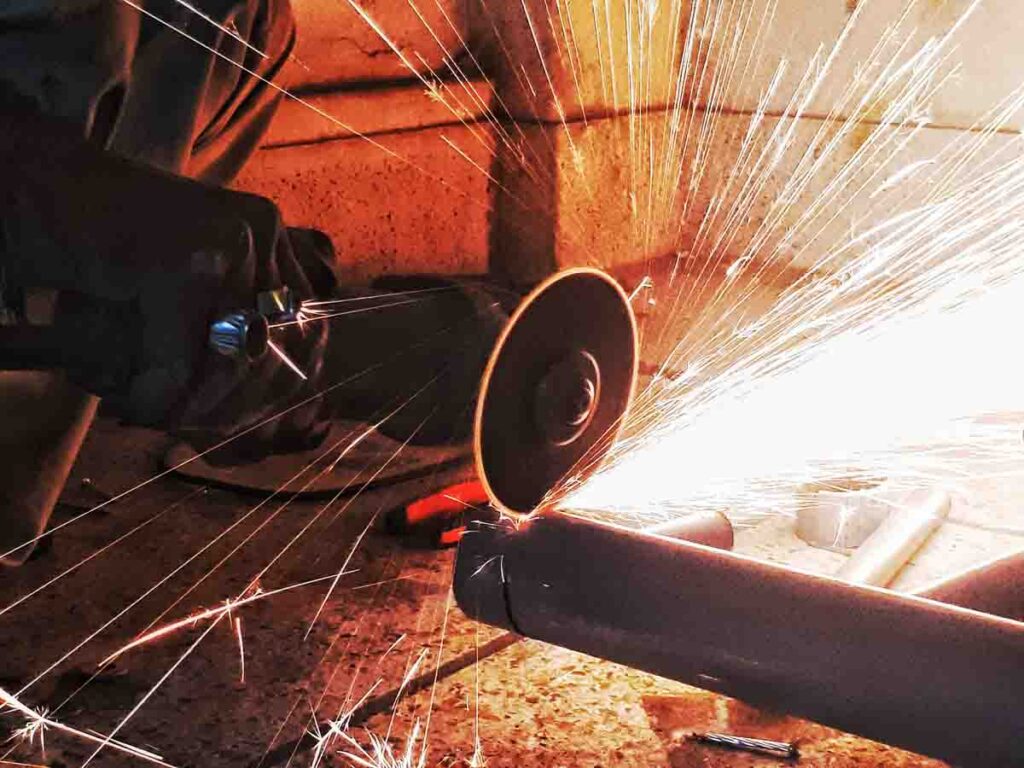
The best tools for cutting cast iron guttering are usually angle grinders with a diamond cutting disk for metal or rotary cutting disks for smaller jobs. Wear protective eyewear and gloves when using power tools, as you’ll be exposed to metal shavings and sparks! You’ll also need clamps, bevelled edges and drill bits for more precise cuts.
When cutting the guttering, use clamps and a straight edge or square as your guide. With circular cuts, such as when fitting an angle or downspout, mark circles on the gutter with a pen before cutting with an angle grinder for straight cuts on flat surfaces. Leave at least 5mm of clearance between each joint to allow space for sealant during installation.

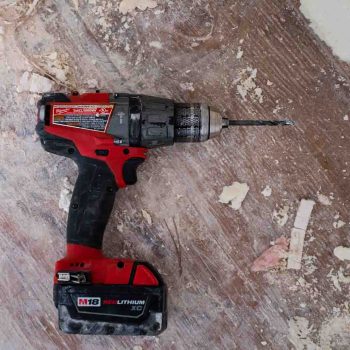
Drilling holes into cast iron guttering can seem daunting, but with the proper preparation and approach, it doesn’t have to be. You’ll need an appropriate drill bit for cast iron, preferably with a carbide tip, and your power drill.
When drilling the holes, make sure to go slow, as it’s easy to crack or break the iron if you’re not careful. When you get close to the end of the hole, reduce the pressure on the drill to complete the job without putting too much strain on the material.
Drill bits can get very hot during use, so it’s best to use a cooling lubricant to dissipate some of that heat and extend the life of your tool. This is especially important when dealing with larger-diameter holes. Finally, don’t forget to periodically remove chips around your bit to ensure a better quality cut.


You’re in luck; joining sections of cast iron guttering is relatively easy. You need the right tools and materials – and some patience!
Most of the standard cast iron gutter profiles have joint union clips, acting as a socket, designed to join two spigot gutter sections together. Ensure that your cuts are as neat as possible and that your sections fit perfectly.
Next, get a cast iron gutter sealant and a gutter jointing compound. These will seal the joints and help prevent future water damage or rusting – Or Use one of the cast iron gutter fixing kits, including a rubber seal, nut, bolt and washer.
You’ll also need an electric drill with a bit for the joining section. It’s essential to use the correct drill bit size – too small, and the bolt won’t fit in; too large, and the head of the bolt won’t fit in the hole! Remember to use masking tape over your drill bit guide marks so you can see where you are drilling into the metal surface. Finally, you’ll want some sandpaper or emery cloth to smooth out any sharp edges.
Once all of this is ready, it’s time to join those sections together: start by fitting two pieces of gutter together – remember to make sure they are aligned correctly before tightening them down with bolts – then use your sealant (or rubber joint) along each joint. Finally, paint over the sealant with your chosen paint for a more attractive finish!
If you find yourself in the position of having to repair your cast iron guttering, then you are going to need to make sure that it is adequately sealed. This is where sealant and caulk come in. Sealants and caulk are essential tools in guttering repair as they fill in any gaps or cracks left from cutting or drilling the metal. They also protect from water ingress, which can cause long-term damage to your gutters.
To ensure a successful job, here are some essential steps for applying sealant and caulk:
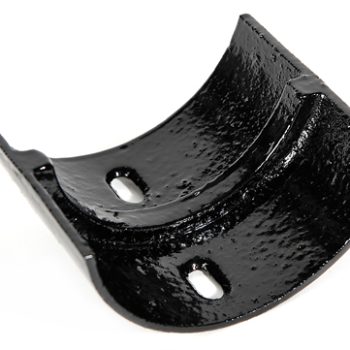
Tuscan Foundry’s cast iron gutter repair brackets are the ultimate solution for maintaining half round, deep, and beaded cast iron gutters. Crafted with precision, these brackets boast a galv/zinc finish for unmatched durability and resistance to the elements. What sets them apart is the heavy-duty M10 adjustable thread, providing effortless alignment and steadfast support for your gutter system. With Tuscan Foundry’s expertise in cast iron craftsmanship, these brackets ensure that your gutters remain not only functional but also aesthetically pleasing, preserving the timeless charm of your property while offering lasting protection against rainwater damage.
Painting cast iron guttering is the best way to protect and maintain it. It makes it look better and last longer, with an extra layer of protection against weathering, rust, and corrosion.
There are a few key steps before you start painting your cast iron guttering. To begin with, clean the surfaces with a wire brush to remove loose paint, rust or other blemishes. Give any rusty spots extra attention to ensure they’re thoroughly scrubbed clean before moving on.
Neutrarust can also be used before the application of the paint finish.
Once everything is nice and clean, use a damp cloth to remove dust or dirt particles. This is an important step when painting cast iron guttering, as it ensures the paint will adhere properly and not flake off over time.
You have several options when selecting paint colours for your cast iron guttering. Many people opt for traditional black or grey since they add a classic look to any home exterior. Whatever colour you choose, ensure it’s rated for outdoor use; otherwise, it won’t be able to stand up against the elements!
Remember: when selecting paint colours for cast iron guttering projects, remember that darker colours absorb more heat and light than lighter ones, so don’t forget about temperature fluctuations when deciding!
Before applying your colour topcoat, ensure you have an excellent primer base, such as Pro Main Rustoleum 3202 Galvinoleum Adhesion Primer. This will provide an excellent key for the top coat and years of service.
Remember a few other things when repairing or maintaining your cast iron gutters.
It’s essential to wear protective clothing and gear when working on cast iron gutters. Wear safety glasses, heavy gloves, and a dust mask when cutting, drilling, or sanding the metal.
Cleaning your gutter is one of the easiest ways to maintain it. The best way to clean your gutter is to use a garden hose and a soft brush or cloth. You can also use a pressure washer, but make sure you use the correct attachment and setting not to damage the gutter.
Painting your gutter is another way to maintain it over time. It’s unnecessary, however; if the paint is still in good condition and not flaking off, you can skip this step. However, if the colour starts fading or chipping, then it’s time to give it a new coat of paint. Make sure you choose a colour specifically designed for cast iron gutters to protect your gutters from rusting and corroding over time. And last but not least, remember to seal the edges of any joints with silicone sealant for added protection against water damage.
Following the steps outlined in this guide, you can repair and restore your cast iron guttering to its former glory. With the right tools, preparation and patience, you can be sure your work will be safe, secure and weather-proof.
The most important part of the process is to take the time to make sure you’re doing it correctly. Don’t rush, and don’t cut corners. Attention to detail is vital when it comes to cast iron guttering repairs. With careful planning and thorough preparation, you can be sure that your cast iron guttering will serve you well for years.