Most of the time, fix cast-iron rainwater or traditional LCC soil pipes from the bottom up
That approach gives better control, keeps everything square, and avoids stress on joints and brackets.
That said, there are situations where working top down makes sense. The key is understanding what is fixed, what can move, and where gravity will try to take over.
Why Bottom-Up is Usually Best
- The Pipe Shoe Sets the Datum
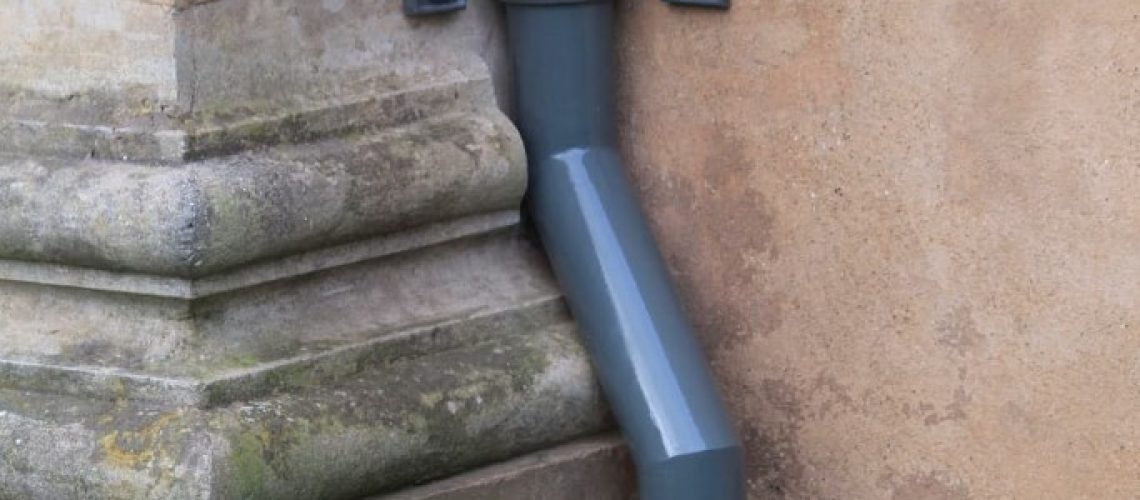
- The pipe shoe has a fixed relationship to ground level, gulley, or drain.
- Once the shoe is in the correct position and angle, everything above can line up to it.
- If the shoe is even slightly wrong, the whole stack looks wrong.
- Weight is Supported as You Go
- Cast iron is heavy.
- Starting at the bottom means each new length sits on what’s already fixed.
- You’re not hanging long runs of pipe while trying to line up sockets.
- Offsets Are Easier to Control
- Many rainwater pipes include one or more offsets to clear stone string courses, plinths, or window heads.
- Building upward lets you:
- Dry-assemble the offset
- Adjust bracket positions
- Keep the pipe tight to the wall without forcing joints
- Brackets End Up Where They Should Be
- Traditional spacing relies on gravity working with you.
- Bottom-up fixing naturally results in sensible bracket locations rather than “making them fit later”.
In practice:
Shoe → first straight → offset (if any) → continue up → final connection into hopper or gutter outlet.
Frequently Asked Questions
Should cast iron rainwater pipes be fitted bottom-up or top-down?
Bottom-up. Starting at the pipe shoe and working upward gives the most reliable result, particularly on runs with offsets.
Why does the pipe shoe matter so much when fitting a downpipe?
The pipe shoe has a fixed relationship to ground level, gulley or drain. Once it’s positioned and angled correctly, everything above it can line up to it — if the shoe is even slightly wrong, the whole stack looks wrong.
How should offsets in a cast iron downpipe be handled during installation?
Building upward lets you dry-assemble the offset, adjust bracket positions, and keep the pipe tight to the wall without forcing joints — all before the run above is fixed in place.
Why is weight support a factor in the fitting order?
Cast iron is heavy. Starting at the bottom means each new length sits on what’s already fixed, rather than hanging long runs of pipe while trying to line up sockets.
What’s the typical assembly sequence for a cast iron downpipe?
Shoe, then the first straight length, then any offset, continuing upward, and finishing with the final connection into the hopper or gutter outlet.
When Top-Down Can Make Sense
- Fixed Outlet Position at the Top
If the hopper, eaves outlet, or gutter socket cannot move, it may be sensible to start there so the connection is perfect.
This is more common:
- On listed buildings where gutter positions are historic and fixed
- Where replacement pipes must align exactly with existing openings
- Repairing a Short Section Mid-Run
If you’re only replacing:
- A cracked length
- A failed socket
- A damaged offset
Then you may need to work between two fixed points, easing pipes apart from above and below.
- Very Tall Stacks with Lifting Constraints
On tall soil stacks:
- Sections may be lowered into place from scaffolding
- Temporary support is used
- Final tightening still often works back down to the shoe
Even here, the final alignment check usually references the bottom.
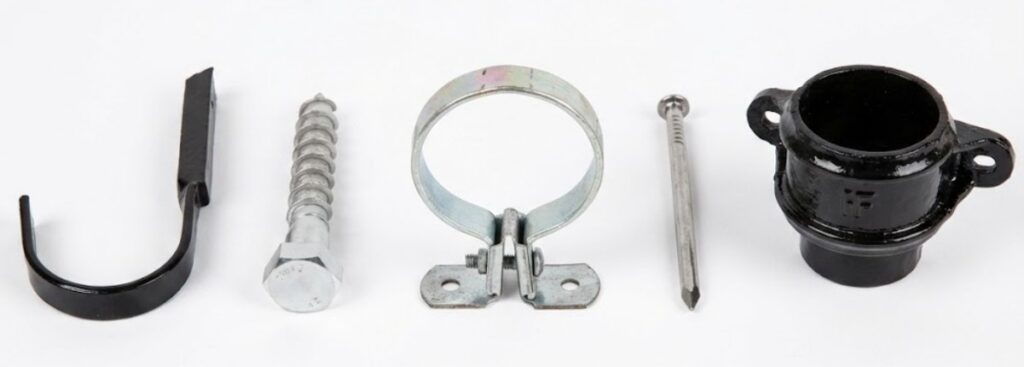
Pipe Sockets and Fixings
Cast iron pipes are supplied with sockets, either plain or with fixing ears. These ears allow direct attachment to walls, offering extra stability.
Pipe Sockets
- Provide alignment between the spigot and the socket ends
- Support joint sealing materials
- Can be fixed with ears or supported by brackets
Fixings Overview
Pipe Nails
- Driven into wall plugs through brackets
- Best for lightweight or decorative runs
Coach Screws
- Used with wall plugs
- Ideal for heavy or tall pipe stacks
Brackets and Holderbats
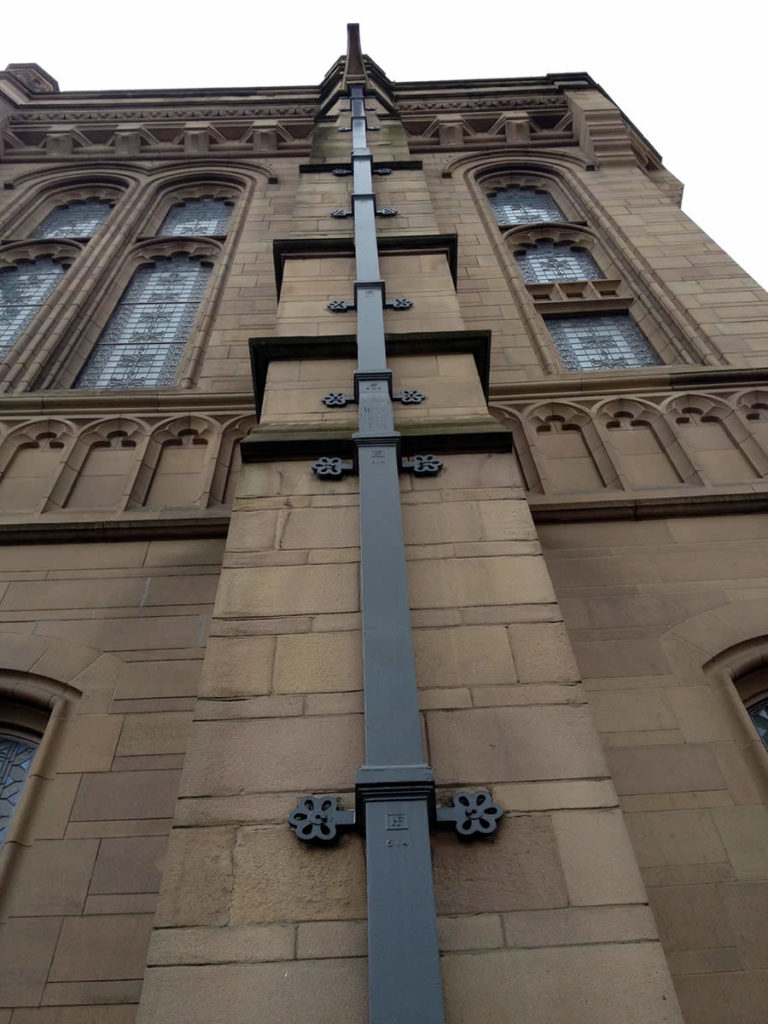
- Provide both structural support and period detailing
- Used at joints or 1.8m intervals
Jointing Cast Iron Pipes
Pipe Jointing Compounds
- Traditional non-setting pastes
- Applied into the socket before inserting the spigot
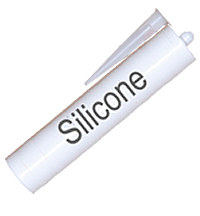
Silicone Sealant
- Modern and easy to apply
- Comes in colours to match paint finishes
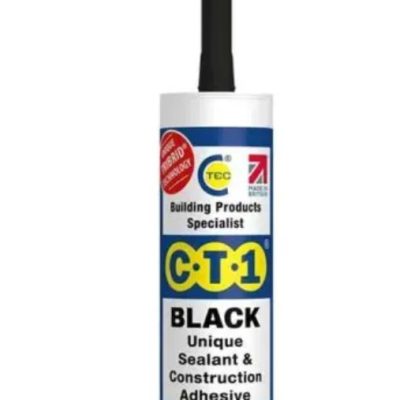
CT1 Sealant
- Hybrid polymer adhesive/sealant
- Strong, flexible, and waterproof
Caulking Cord
- Packed into socket before applying compound
- Ensures a tight, stable seal
Common Fixing Mistakes
Avoid the following:
- Starting at the top and missing the drain at the bottom
- Forcing pipes into alignment, stressing sockets
- Fixing brackets too early
- Letting weight hang unsupported
General Rule of Thumb
If the shoe position matters (which it usually does): go bottom up.
If the top connection is absolutely fixed and untouchable: consider top down, with care.
Trusted Solutions for Every Rainwater Installation – From Historic Restorations to New Builds
At Tuscan Foundry Products, we understand that every project is different. Whether you’re installing a full cast iron rainwater system or replacing a section of heritage pipework, knowing when to work from the bottom up (or top down) can make all the difference. We supply sockets (plain or with ears), traditional and decorative fixings, and all the jointing compounds you need for a long-lasting installation.
Visit our Cast Iron Rainwater Pipes page for more details and product support.

FAQs
- Should I use sockets with fixing ears or plain sockets?
Use fixing ears where additional stability is needed or where brackets can’t be used. - Can I start at the top if it’s a short pipe?
Possibly, but ensure the shoe still aligns with the drain. - Which sealant is best for long-term durability?
CT1 offers the best mix of strength and flexibility. - Do I need both caulking cord and sealant?
For traditional installations, yes. For modern sealants like CT1, cord is optional. - What spacing should I use for brackets?
Every socket or around 1.8m, depending on pipe weight. - Are pipe nails suitable for all walls?
No, avoid them on hard masonry. Use coach screws and wall plugs instead. - What if I’m repairing only part of the pipe run?
Work between fixed points and dry-fit to check alignment before sealing.